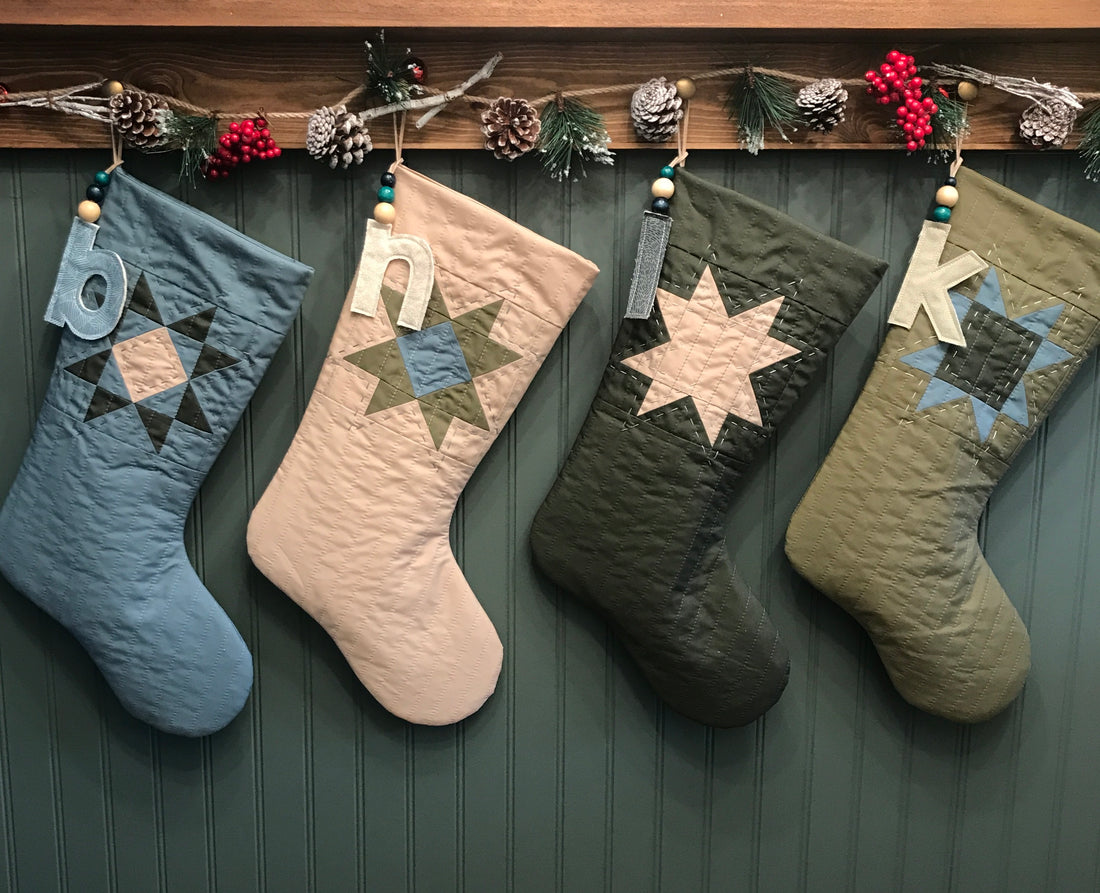
Supplies:
- Quilted Alphabet Template - printed and cut out
- Beads or other accessories
- Marking tool (for fabric)
- Fabric scissors or Pinking shears
- Piece of string, ribbon, or leather lace at desired length (I prefer 6.5 inches)
- (1) 4.5in x 5in square of Fabric 1 (front of letter)
- (1) 4.5in x 5in square of Fabric 2 (back of letter)
- (2) 4.5in x 5in squares of batting - use only 1 layer for a slimmer look!
Notes:
- The Quilted Alphabet Template utilizes a condensed alphabet. This means the letters “b” “d” “p” and “q” as well as “n” and “u” are created from a single letter template, simply flipping it around as needed. This is for optimized printing and cutting. An alternative option to printing out the templates is to purchase acrylic templates, such as these from Joanns. The tittle (the dot over the “i” and “j”) can be kept together or cut separately.
- Each letter varies in size. 4.5in x 5in gives you plenty of space and is the easiest to prepare, but it is a generous measurement for most of the letters. You can certainly use scraps, or lay the individual letter templates over your fabric to create less fabric waste. The most important part is to have at least 1/4in of fabric on all sides of the letter template.
- I recommend using only one contrasting Fabric 2 (rather than a combination of different fabrics), so the correct side is easily differentiated from the back (e.g. using a solid color for Fabric 2 if Fabric 1 is a print(s)).
- A heat or air soluble fabric marking tool will be the easiest to remove, as opposed to water soluble, as the finished letter is not washed.
- Using regular fabric scissors allows for a closer cut to the letter, but will fray more easily. Pinking shears will prevent excessive fraying, but are a certain look :)
Instructions:
1. Using your marking tool, trace each letter onto the center of a Fabric 1 piece.

2. Create the quilted letter stack in the following order top to bottom: 1 piece of Fabric 1 (right side up), 2 pieces of batting (or just 1), 1 piece of Fabric 2 (right side down).
3. Fold the ribbon in half and tuck the raw edges in between the 2 layers of batting at the top edge of the letter. If only using 1 layer of batting, tuck the ribbon between the batting and the Fabric 2 layers.
4. Stitch along each line, being sure to catch the ribbon in the line of stitching and backstitch where the stitches overlap in order to secure.

5. Use the pinking shears to trim 1/4in away from the sewn lines (or use regular fabric scissors to trim 1/8in from the sewn lines), being careful to not snip any of the stitching or the ribbon.


8. Remove the markings, if the marking tool is not air soluble.
9. Add beads or other accessories as desired.
10. Loop the ribbon over the hanging loop of the stocking.


